Step #1 – Purchase Hosting via DreamHost
DreamHost offers a FREE HOSTING PLAN FOR NON-PROFITS. Otherwise, DreamHost charges $9.95 per year for hosting, which allows you to host unlimited domain names. DreamHost hosting comes with one free domain name.
Once you have purchased your hosting you will receive a confirmation email. The email will provide further registration instructions. Follow the steps and log into your DreamHost account.
Step #2 – Time to Pick a Domain Name and Register
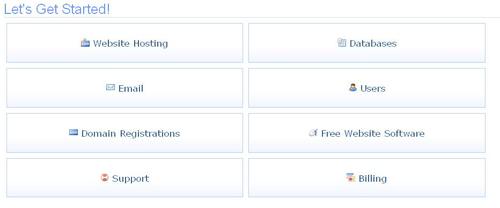
Once logged into the DreamHost account, click on “Domain Registrations”.
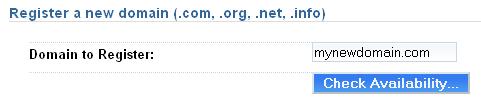
The next screen will ask you to check the availability of your desired domain name. Remember you want your domain name to be related to your client’s organization/project and to be precise. (i.e. giipers.com instead of www.globalinformationinternshippro
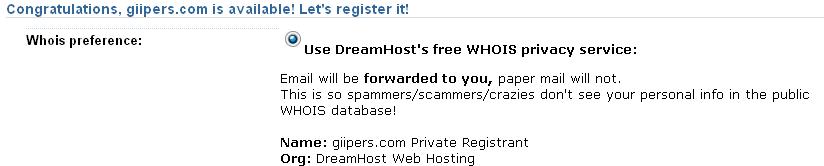
If the domain you want is available you will receive a “Congratulations” statement. Make sure that your personal information is correct and press on “continue”.
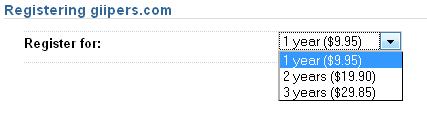
The next screen will ask you how long you want to purchase the domain name for.
You will be asked to pay for your domain name via credit card or by checking account. Once you have purchased your hosting and domain name, it is time for the One-click WordPress install.
DreamHost One-Click WordPress Instillation
Click on the “One Click Install” link in the right hand side menu bar.
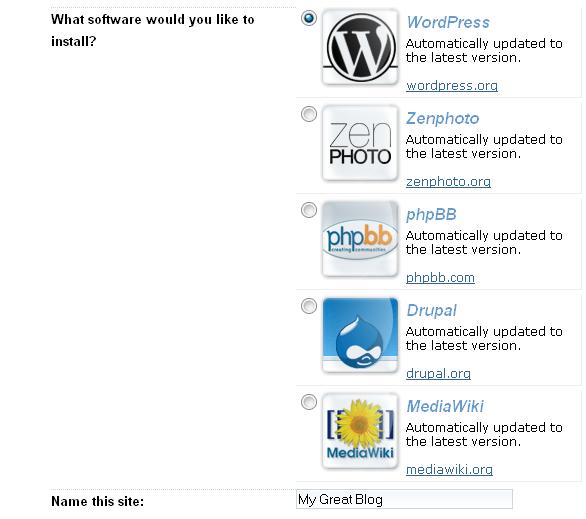
Click on:

Check the box for “WordPress” and fill out the admin contact information.
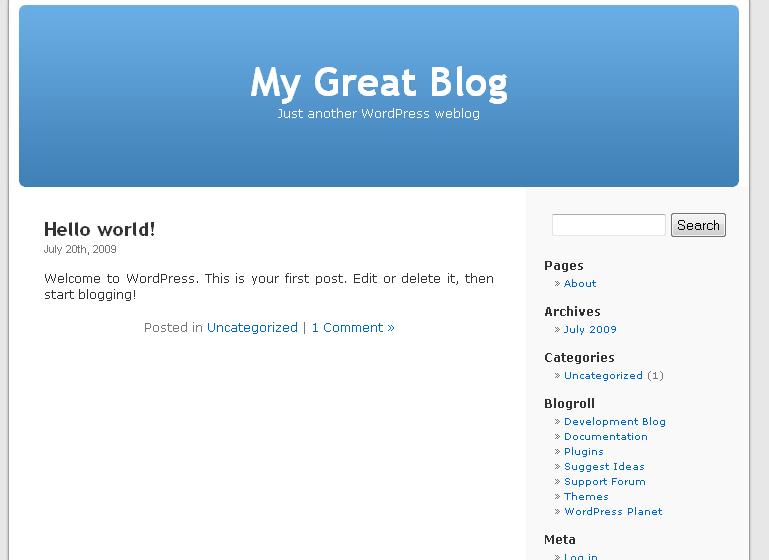
The Next Screen should look like this:

To Manage the WordPress Site
You will have to go to: www.(your domain name).com/wp-admin
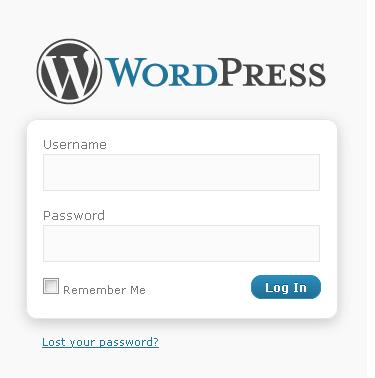
Log into WordPress with the username and password provided in the email.
Look at this tutorial to get started with WordPress!
|
Can I implement the same on my zaner bloser font |
|
|
Which domain hosting company is best for a blog serbian chef knife vs chinese cleaver website having premium traffic? |
|
|
Can I implement the same on my blog? |
|
|
Please check and let me know I applied all the function on this gd apk site correctly? |
|
|
Great tips and most successfull these tips are, I just implement it for a truck simulator ultimate mod apk unlimited money website. |
|
|
Purchasing a hosting domain name and setting it up can be streamlined with a few simple steps. Here’s a step-by-step guide to help you through the process: Choose a Domain Registrar and Hosting Provider: Start by selecting a reliable domain registrar (e.g., GoDaddy, Namecheap) and a hosting provider (e.g., Bluehost, SiteGround). Use the domain search tool Choose a hosting plan that suits your needs (shared hosting, VPS, dedicated hosting, etc.). Proceed to checkout and complete the purchase by providing the required details and making the payment. After purchase, you’ll receive login details for your hosting account. Most hosting providers offer a 1-click installer for popular applications like WordPress, Joomla, and others. Select the application you want to install (e.g., WordPress). Once the installation is complete, you can start configuring your website. |
|
|
Tierkrematorium Albstadt provides a unique approach to the sensitive process of animal cremation. The team handles every aspect of the cremation process with great care, paying meticulous attention to detail and maintaining a high level of professionalism. They understand the deep emotional bond that people share with their beloved pets and strive to create a peaceful and respectful environment during this difficult time. Their compassionate team honors pets with dignity and reverence, ensuring a peaceful transition for both the pets and their grieving companions. |
|
|
24 hour security patrol: Their personalized approach means that security solutions are tailored to your specific requirements, ensuring that the systems implemented are perfectly suited to your unique security challenges. |
|
|
The team manages each part of the cremation procedure with exceptional deer adventure care, ensuring that every detail is attended to with precision while upholding a strong standard of professionalism. |
|

