iPhone Settings for Riseup
This page will help you to setup email on your iPhone for use with Riseup. The images below will take you step by step through the process of setting up an IMAP mail account on your iPhone. As we go, each step should take you to the image below it.
add a mail account
To get started you will need to first tap on the settings icon on your iPhone home screen:
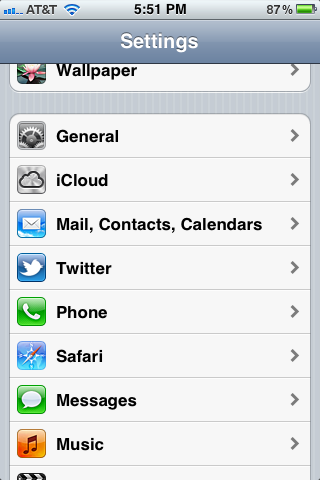
At this screen tap on “Mail, Contacts, Calendars” which should bring you to the screen below:
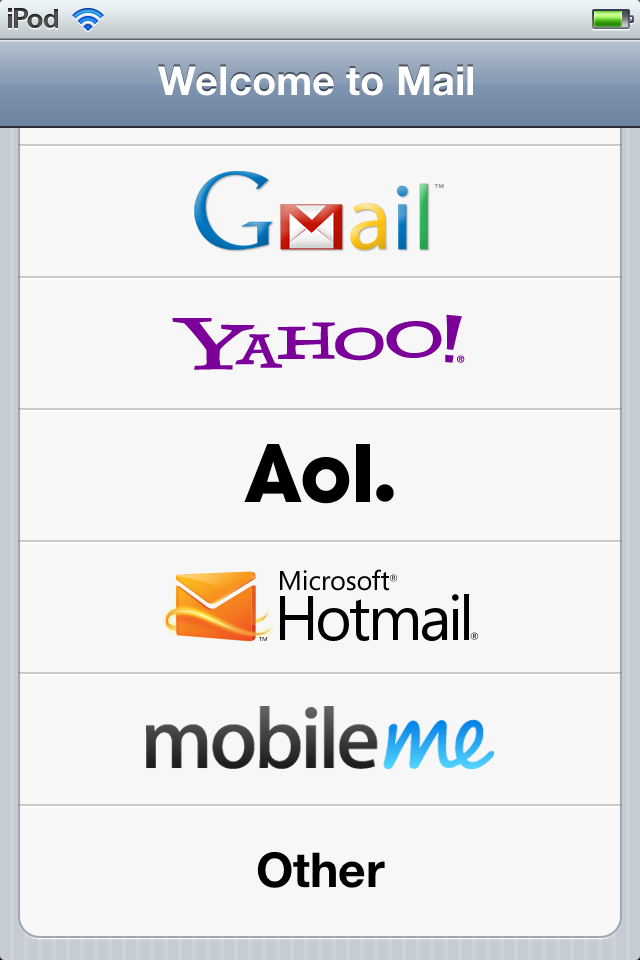
Scroll down to the bottom and tap where it says “Other”:
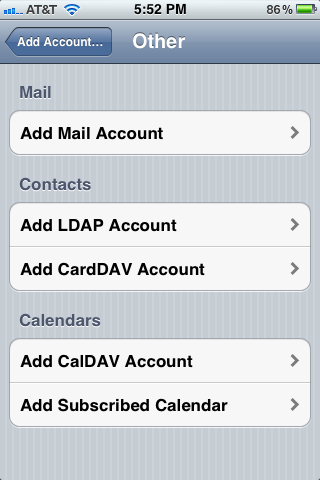
Tap “Add Mail Account”
fill out your account information
Add your information for your mail account. The “Name” area is the name that people recieving mail from you will be given as your name. The description area is to help identify this account on your phone if you have other mail accounts that you use on the same phone. You can put whatever you like there. When you’re done filling this area out tap next.

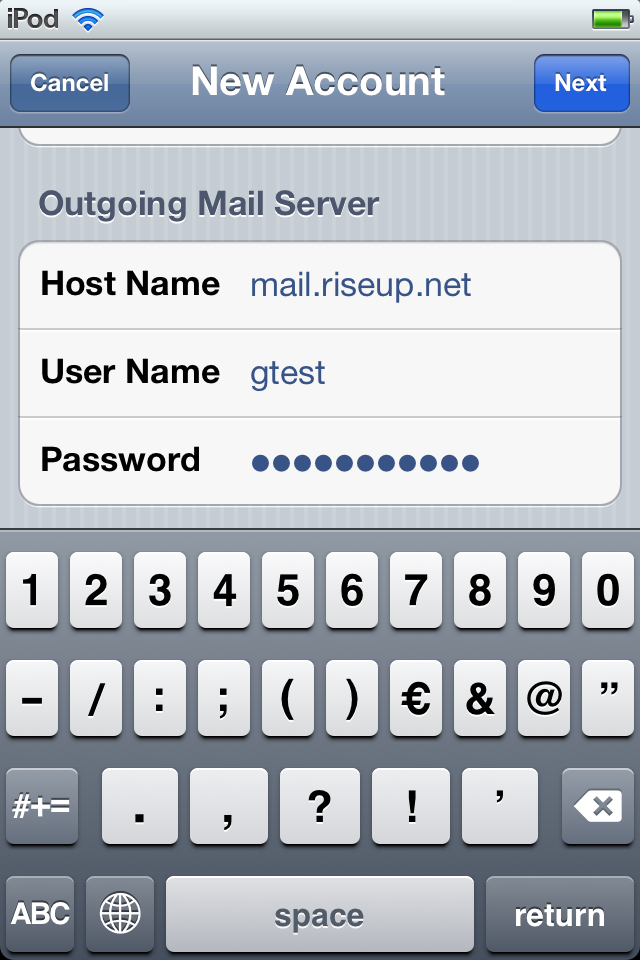
set the outgoing server
Now fill out the outgoing mail server like follows:
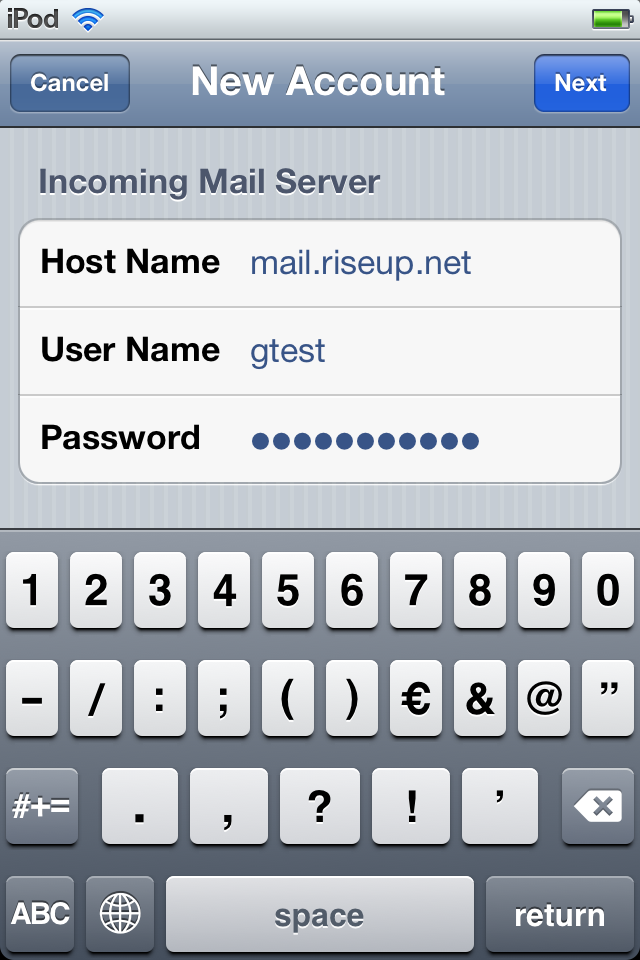
set the incoming server
Make sure the incoming mail server looks like this, once it does, tap next:
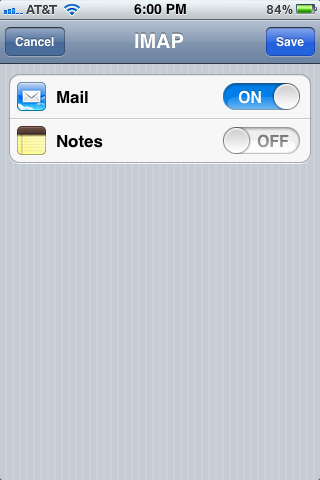
syncing other data
The next step might ask you if you want to sync notes, we do not support that, so leave that off, tap next to move on:
You aren’t finished yet!
You want to go back into that new account to check a few things. You should still be in the “Mail, Contacts, Calendars” section of settings, if not, from the home screen tap “Settings” then “Mail, Contacts, Calendars” then tap on your new account. It will be named exactly what you typed in the “Description” area above. (“Riseup” in our example), you should get yourself back here:

scroll down to the bottom and tap “Advanced”, then you will see this:
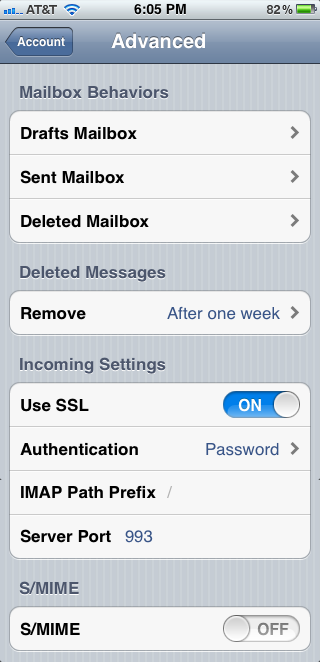
Here you can set your iPhone mailboxes they sync up with your imap mailboxes, tapping on “Drafts Mailbox” will allow you to store messages you’re drafting on your iPhone on the server so you can work on them later from another computer. Similarly, the “Sent Mailbox” and “Deleted Mailbox” will allow you to access items sent or deleted from another computer as well. We call the “Deleted Mailbox” Trash.
If you don’t use drafts, sent, or deleted folders you don’t need to set these up.
Finally, make sure that SSL toggle is switched to on, and the other items match accordingly.
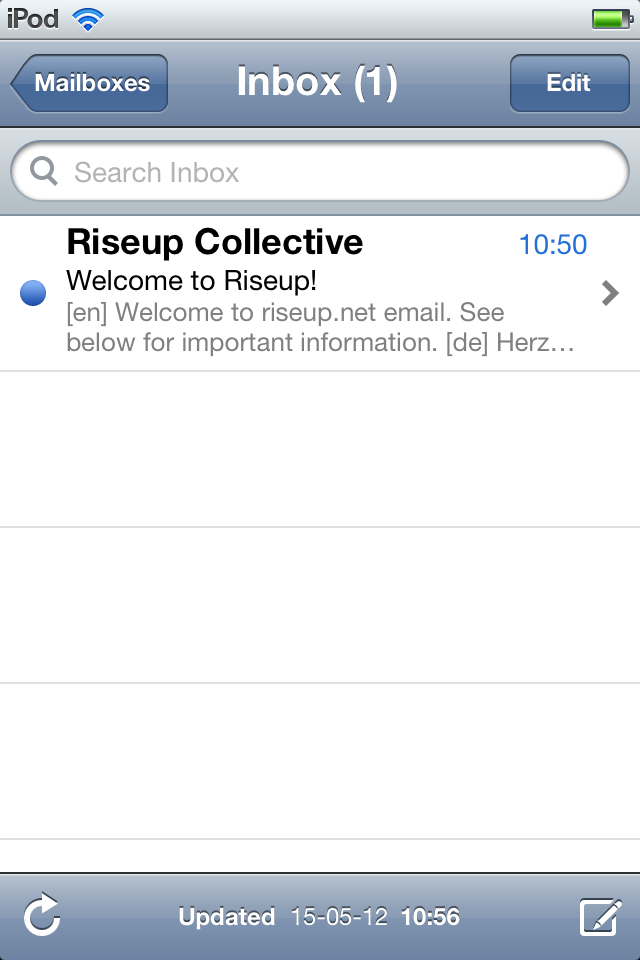
finished!
That’s it, your mail should be all setup now: